


Dulcimers From Start to Finish
For a Gallery of various dulcimers, click here
For some philosophy of Lutherie, click here
These are dulcimers that are currently on the bench. From the pictures you can get an idea of a few of the construction techniques that I use in dulcimer making.
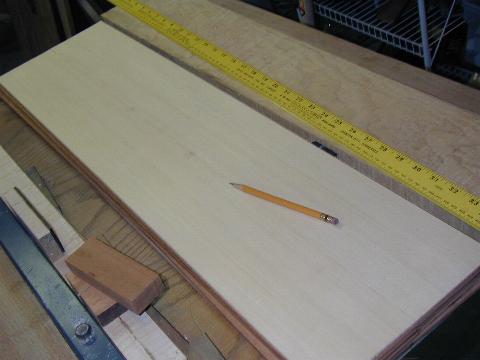
The above is a good piece of spruce that I have already joined together to make a top.
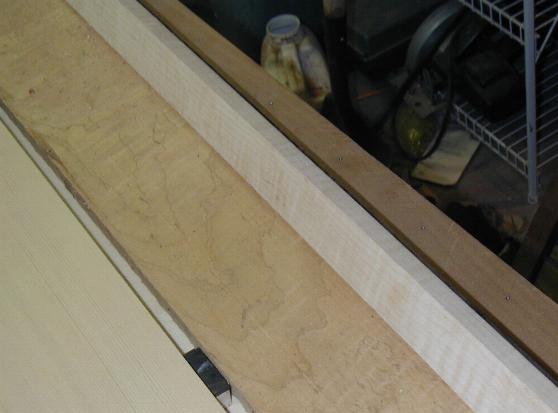
Here is a curly maple fingerboard blank that I have already attached the ebony overlay to. Underneath the blank you can see the raw board it came from.
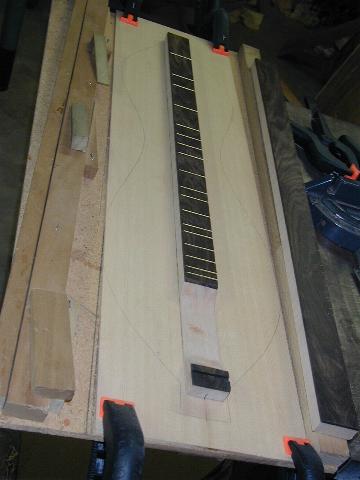
Here is the blank once it has been fretted and affixed to the top. I am thinking about hearts for the soundholes.
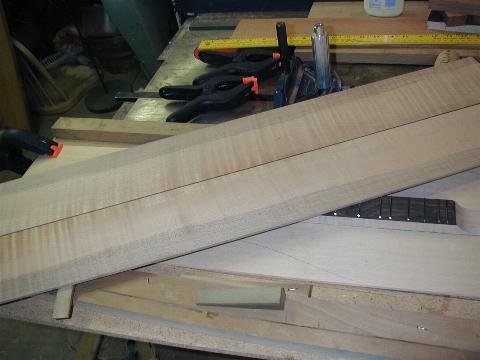
This will be the back for the above instrument. I have still not begun the peghead.
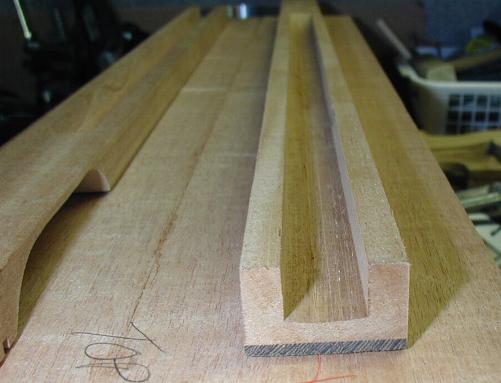
Here is a close-up of what the underneath of the fingerboard looks like inside of the instruments. It is cut with a dado on the table saw. For those of you who know about J. Edward Thomas, he made many of his dulcimers with a channel like this.
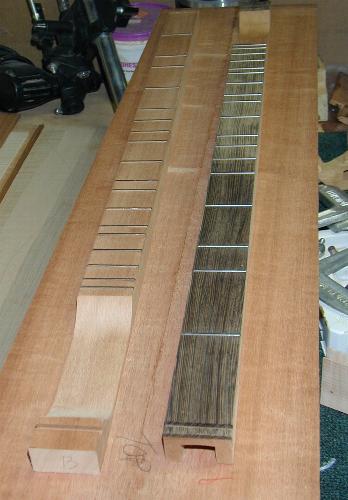
The fingerboard on the left will go to a solid mahogany instrument. The one on the right will go on an instrument with a spruce top and a mahogany back and sides.
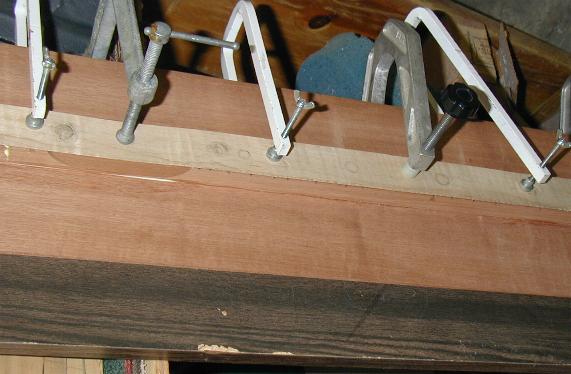
This is a picture of a fingerboard being attached to the soundboard of an instrument. I used to put the soundholes in before I attached the fingerboard, and for very detailed ones, I still do. But for an instrument that will have hearts or hummingbirds or something like that, I will attach the fingerboard first so that the soundhole alignment will be perfect with the frets and strum hollow.
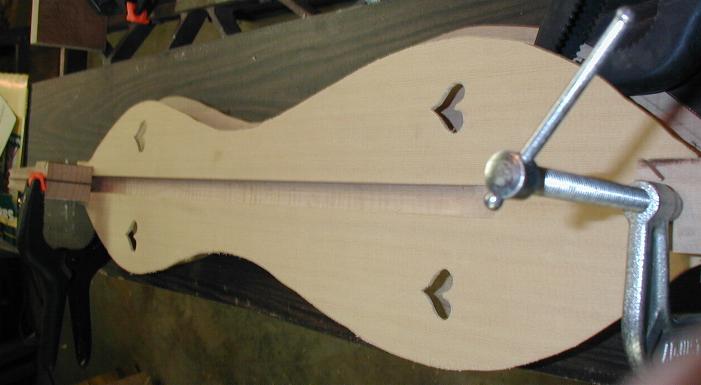
This shot shows the channel that I cut underneath the fingerboard for better sound. This soundboard has the traditional upside down hearts.
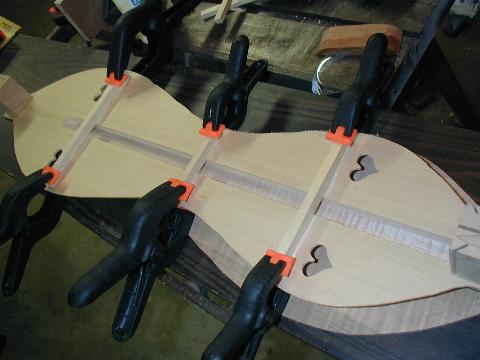
These braces are split sitka spruce from logs I got from Bruce Harvie. The bracing will strengthen the top and enhance the sound.
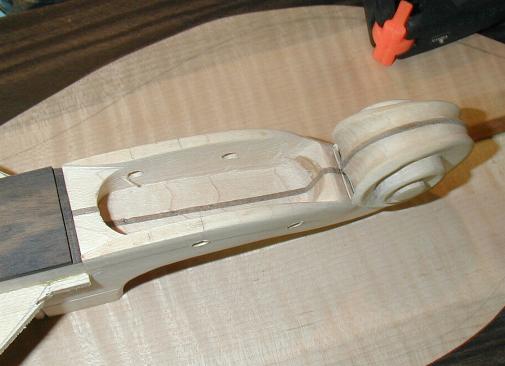
This is one of my scrolls. It takes several hours to carve one of these, but I like the effect it adds to the instrument. This peghead has a thin strip of veneer sandwiched between two halves of the same piece. It will attach to a back that has a matching center strip.
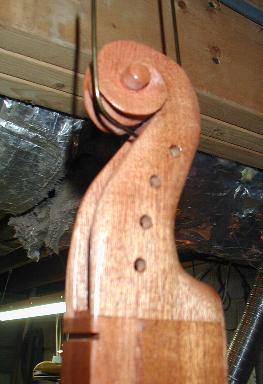
This mahogany scroll is somewhat more fluted than the maple scroll. The mahogany is also much easier to carve because of the grain of the wood.
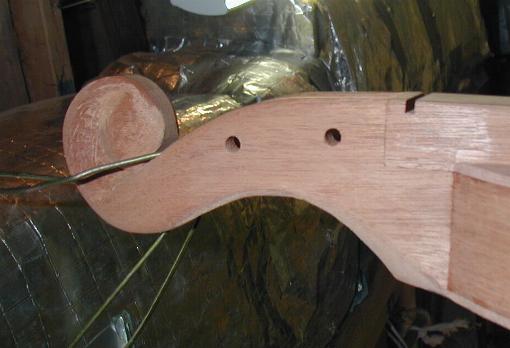
This little ball/scroll is not completely finished. I went ahead and mounted it to the instrument to give me something more to hold on to while working with it. This is on an hourglass shaped instrument.
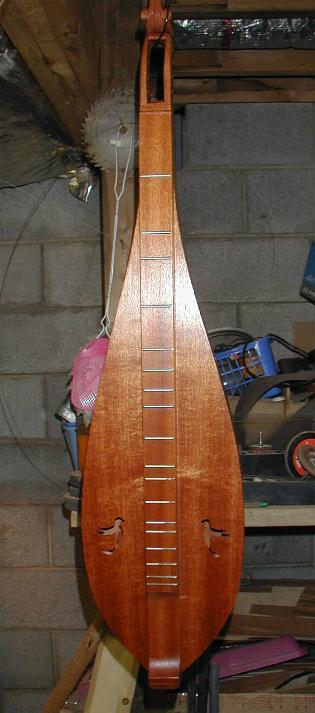
One completed mahogany teardrop, ready for stringing(SOLD12/18/02).
This hourglass is more slender than most of mine. I did it on a whim I suppose. I just want to see how it will change the sound(SOLD12/18/02).
Golden Hourglass(SOLD 12/17/02)
Violin Style scroll, about the size of a cello scroll.
This is a shelf style edge, it really adds a nice touch, I think.
This is the fraternal twin to the one above, this is the White Hourglass. Same woods, just different finishing method(SOLD12/20/02, $500.).
Again with the lip edge, reminiscent of a violin.
This is the ball scroll on the White Hourglass peghead. Kind of a whimsy I suppose.